
How to Maintaining the Brushless Motor? Just read this blog post and it may help you.
Step 1 - Remove the Motor
Start by removing the motor from the RC Helicopter. This can be the most difficult part of the process or the easiest depending on the motor.
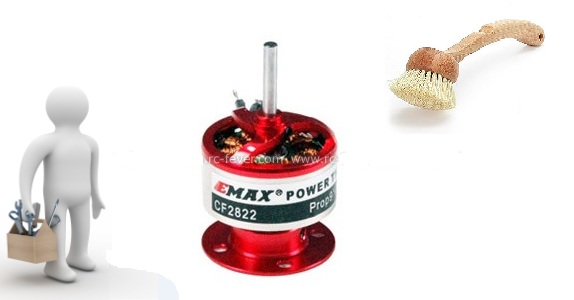
Step 2 - Clean the Outside of Motor
You never want to open up a motor until you clean the outside first. Especially if you hit a lot of mud under crash. Any dust that is stuck to the motor can find its way inside and cause damage later. Clean the motor down with a soft rag and use a brush to get any hard to reach places clean. Make sure you pay extra attention to the exposed sections of the bearings and the sensor wire plug if your motor has one.
Step 3 - Open up the Motor
Before you open anything, make sure you mark the timing if your motor has this option. This way it will be easy to set when you put it back together. You’re now ready to open the motor.
The parts disassemble easily and can only go back together one way, so there is nothing to worry about. Make sure to pay close attention to the placement of any small washers that might be on the rotor when you remove it and place them back in the same place when rebuilding. You might also take a few pictures of everything that way you can reference it when putting it back together if needed. Be careful when removing the rotor so you don’t damage it and make sure you have a clean spot to put it free of dirt and debris.
Step 4 - Blow the Parts Off
Once your motor is opened, take the components and blow all of the parts off where you cannot see any dirt, dust, or debris anywhere.
Step 5 - Check the Bearings
Stick the rotor into the bearings and spin it to see if your bearings are grinding or just generally not smooth. If they are, you’ll need to replace or clean the bearings. If they are okay, wipe them down with a paper towel or cotton brush.
Step 6 - Put It Back Together
It’s best to clean the rotor right before putting your motor back together so you can assure that no debris will get between the rotor and the freshly cleaned internals of the motor. The best way to clean a rotor is to use a strip of tape wrapped around your finger with the sticky side out. Remove any debris like you would when removing lint from a shirt. You can also brush it off as well.
Now you can put your freshly cleaned motor back together. If you took pictures, use them to make sure you put the motor back together correctly. Take extra time and be sure to do this part right.
Before you put the motor back into the vehicle, take the time to run the motor slowly to make sure everything is running smoothly. Check all screws to make sure they are tight and re-install it.